How to test your Engine ignition coil with a Multimeter
In this guide, we will help you with diagnosing your lawn mower ignition coils. Learn how to troubleshoot and replace faulty ignition coils in lawn mowers using a multimeter and basic tools.

What is an engine coil?
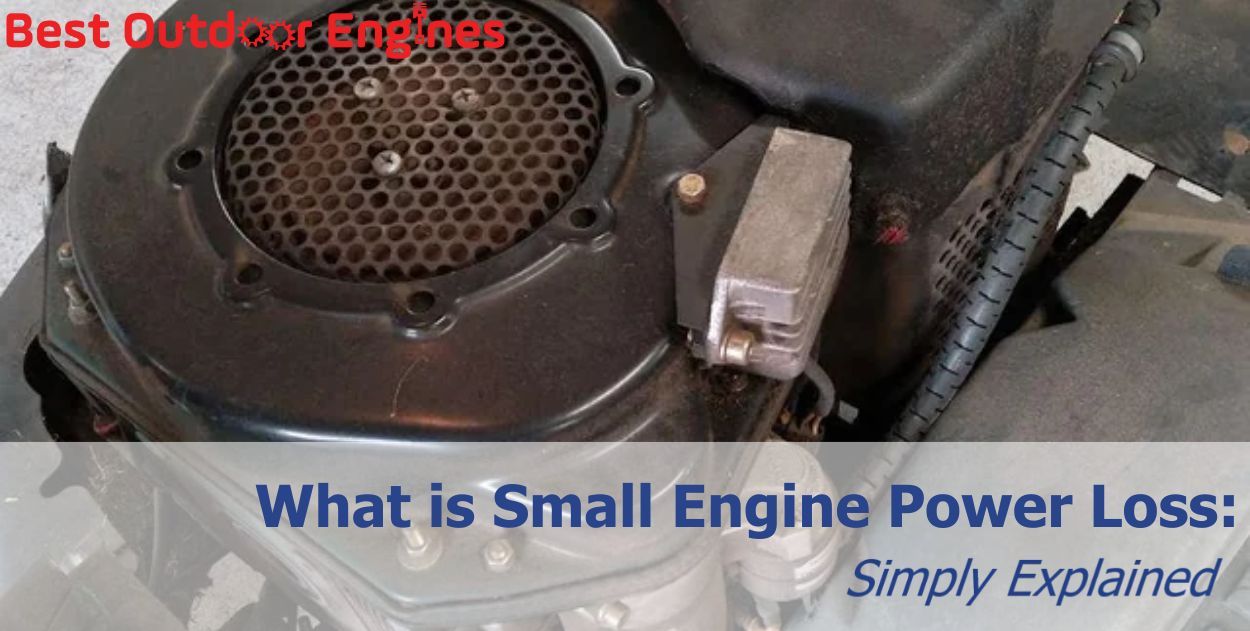
The lawn mower's coil is positioned near the flywheel. When you pull the starting rope, the flywheel rotates. In close proximity to the coil, there is a magnet attached to the flywheel that induces a voltage as it spins. Before the engine can start, a spark is required to ignite the combustion chamber.
As the coil is moving thousands of times, it might seem impractical to remove it for inspection. Instead, continuity testing is employed to assess for brakes without taking out the coil. When conducting a continuity test, if you obtain a finite number, typically ranging from 2500 to 5000, it indicates that the coil is intact and not broken. Conversely, if you receive an infinite number, it signifies that the coil is broken and needs to be replaced.
A multimeter is a tool that is normally used for measuring various quantities of your devices. That includes ohms, which is what we want to measure for this case. With a multimeter, we can test for continuity. We need the multimeter to check whether the coil is faulty and necessitates replacement.
Just simply consider the multimeter as a fault detector that you used when inspecting the coil. It becomes crucial to conduct tests before confirming the fault, and this is where the multimeter truly excels. If you have already replaced the spark plug and verified the fuel and air circulation, employing the multimeter might be the next logical step to troubleshoot the issue.

Now before we start checking and testing the coil, there is actually other stuff to look into. Check the following things in advance:
Fuel: If the engine has been inactive for an extended period, it's possible that the fuel has deteriorated and you may need to replace it. Swap out the old fuel in the tank with fresh fuel and appropriately dispose of the old one. Utilizing fuel additives can aid in cleansing any debris that may have accumulated in the carburetor.
Fuel Filter: The fuel filter acts as a barrier. It captures dirt as the fuel travels from the tank to the carburetor. Over time, it can become clogged with dirt, hindering the optimal flow of fuel into the carburetor. When this occurs, it becomes necessary to replace the fuel filter.
Air Circulation: Don't forget to inspect the air filter, which is also another barrier. This barrier prevents dirt from entering the engine through the air intake. Eventually, the air filter itself can become clogged and lose its effectiveness. If this is the case, it is recommended to replace the air filter.
Spark Plug: The spark plug is often overlooked, but it can accumulate black soot over time. If you see the black soot, it means that the plug is used for a long period of time and should be replaced.
To remove the spark plug, lift the spark cover and carefully twist the plug until it can be pulled out. Take a close look at the spark plug for any signs of black soot. If you observe black soot on the plug, it is advisable to replace it. Fortunately, spark plugs are typically very cheap, so don’t mind changing one.
Oil: Have you replaced your oil recently? When is the last time you change your oil? Either too much oil or too little oil can be the problem. Bad oil can also be the cause for your engine not working.
If all of those things are not the problem, then you can start checking the engine coil.
Prepare all of these equipment for your checking work:
A multimeter (choose one that can read resistance (ohms))
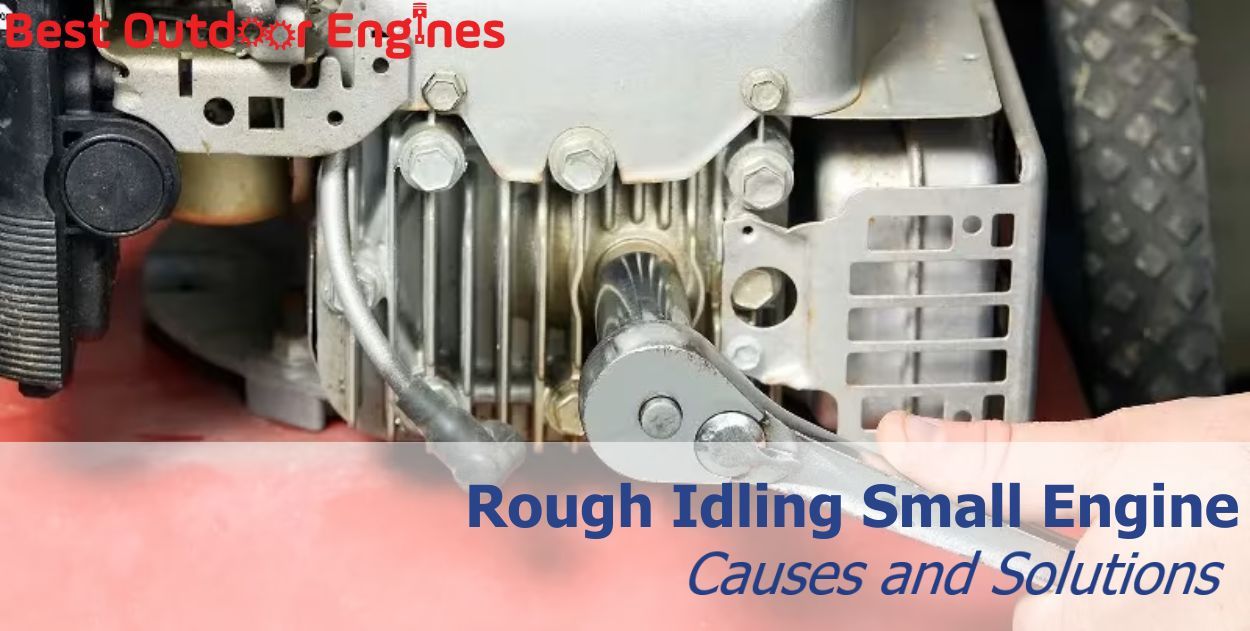
A wrench: this will help you get access to the coil
The manual of your lawn mower: You might need to look into it while checking
Leather gloves: Don’t directly use your hand to work with all of these.
Now, follow this step to check your engine coil:
Step 1: Open the mower:
Before you can reach the coil, it is necessary to open up the mower. This is where your preparation comes in handy, as you'll need a wrench to navigate through the mower.
It is now you start by removing the rubber cover that shields the spark plug. Simply pull up the cover to detach it.
Step 2: Locate the coil
Upon opening the engine, you'll find the coil near the flywheel. The flywheel rotates when you pull the starting rope. The flywheel typically has a circular shape with multiple blades. If you're unsure, consult your owner's manual for specific guidance. Another helpful tip is to trace the spark plug wire leading to the metal box, where the coil is attached.
Step 3: Set up the multimeter
You can start setting up the multimeter by setting the multimeter to read resistance in ohms. Place the read lead into a socket with the ohms signal.
Step 4: Test the Coil Using the Multimeter
Disconnect all wires connected to the coil. While the spark plug wire may not be detachable, you can disconnect the other end of the wire that connects to the spark plug. This ensures safety and accuracy during your readings.
While ignition coils are designed to be durable, they can still develop faults over time. Manually inspecting the coil for breaks or malfunctions is impractical, making the multimeter a more reliable option.
To test the coil, touch the positive probe of the multimeter to the spark plug and the negative probe to the metal component extending from the second terminal on the ignition coil. Remember that the positive probe is red, while the negative probe is black.
Observe the readings on the multimeter. Allow the values to stabilize, and then note the measurement. If the reading falls within the range of 2500 to 5000 ohms, it indicates that the coil is in good condition. However, if the value shows 1, infinity (∞), or there is a sudden shift to the far right, it suggests that the coil is faulty and requires replacement.
If the coil is broken, then we move to the next step.
Step 5: Replace the damage coil
Based on the test results, you can determine if you need to replace the ignition coil. If it is damaged, purchase a new ignition coil. BUT, don’t just buy any coil! Buy one that matches the manufacturer's specifications provided in the owner's manual.
Install the new coil in place of the damaged one and securely close the engine.
Step 6: Re-test the new coil
Redo the testing to see whether the new could work. If you buy the correct one, then we’re sure it’ll be fine and work properly. Now enjoy it!
1. Will a faulty coil engine make my lawn mower perform poorly?
Yes. It will even burn the coil and lead to the lawn mower if the coil is faulty. So check it if you find that there might be problems
2. What are the safety measures to remember when testing the coil with a multimeter?
Prepare in advance all of the necessities, and especially, don’t use your bare hand at all costs.
3. Why is using a multimeter better than other devices?
As we have mentioned, it is actually not practical to remove the coil, so it's best that you use the multimeter to test it




.jpg)
