How to Test a Small Engine Condenser: Small Engine Guide
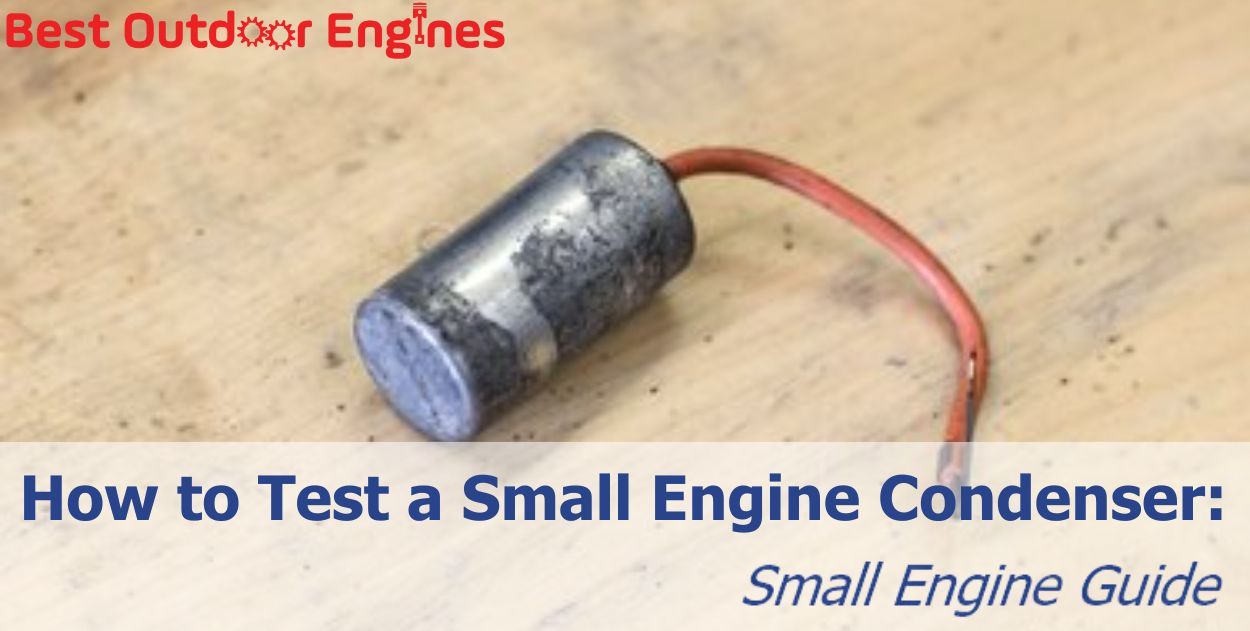
To test a small engine condenser, first, disconnect it from the engine. Use a multimeter set to resistance mode. Touch one probe to the condenser's body and the other to the lead. A good condenser shows an initial high reading that drops gradually. If the reading stays high or at zero, the condenser is faulty.
How Does A Condenser Work in A Small Engine?
To test effectively a small engine condenser you require an ohmmeter volt meter commonly called multimeter; multimeter , which can measure voltage resistance and current hence it’s very useful when it comes to diagnosing electrical problems in engines.
What To Look For In A Good Ohm Meter:
Preciseness: Make sure your multimeter gives accurate readings that can facilitate reliable diagnostics.
Range: It should be able to make wide range measurements such as ohms, volts, milliamps.
Sturdiness: Go for something sturdy, with solid construction that can take regular use.
Simplicity: Clear displays and ease of use controls are crucial for effective testing.
If you want your small engine maintenance done accurately so that it lasts long then you must consider using right tools.
Step 1: Get Rid Of The Condenser

Start by taking out the condenser from the engine. This should be placed on a wooden surface that is insulated so as to avoid any interference which can affect the results of your test. Metal surfaces are conductors and they will fail your test. Find hot connector (the place where wire attaches) and ground point (usually the body of the condenser itself or a special terminal).
Step 2: Setting Up The Volt-Ohmmeter

Adjust your volt-ohmmeter to its ohms position. It allows you to measure resistance, which is necessary for testing a condenser’s capacity to retain and release electricity. Making sure that leads of meter are properly positioned is important for obtaining correct readings.
Step 3: Check If The Condenser Is Working

By touching, observe what happens when one connects the voltmeter’s red lead with hot connector while black lead with grounding point. Look at your multimeter’s deflection needle. In case the deflection needle moves toward zero it means you have good condenser that charges it up; hold these in place for about fifteen to twenty seconds until it fully charged.
Step 4: Discharging The Condenser

Discharge the capacitor by reversing polarity of voltmeter leads. Make contact between black lead and hot connector then red lead and ground point. When discharging, what indicates a healthy condenser is if its needle moves towards infinity.
Step 5: Analyze Your Results

If during charging and discharging, the meter’s needle behaves like this, then your condenser is okay. No response or disparate readings indicate a bad condenser that must be replaced. For accuracy purposes retest it so as to achieve consistent readings.
Your condenser needs regular maintenance for it to last long and perform optimally. Here are some ways of ensuring that the condenser remains in good condition.
Keep the area around the condenser clean so that dirt does not interfere with its functioning. Make sure connections are intact by regularly inspecting for loose or corroded electrical wires is a necessity. Take a multimeter test after sometime to ensure you’re your condenser is working properly. Purchase only high-quality spare parts when replacing a condenser. They should function as per the car manufacturer’s specifications otherwise they will affect its lifespan negatively.
Testing often and regularly maintaining small engine condensers help in achieving efficient engine performance. Working ignition means a consistent spark is maintained by good functioning spark plugs improving fuel consumption efficiency and overall engine health. The application of dependable volt-ohmmeter and the step-by-step guide for testing simplifies diagnosis and repair of problems on the condensers effectively. You will keep it top-notch by doing routine maintenance practices while replacing parts with high quality ones.
1. How Often Should I Test My Engine Condenser?
It is advisable to examine your engines’ conductors at least one year or every time there is reduced performance such as difficulty during starting or uneven idling.
2.What Are The Signs Of A Failing Condenser?
Typical symptoms of a condenser that is not functioning well include spark plugs misfiring, hard starting and a lack of proper sparks at the plug.
3. Can I Test the Condenser Without Removing It?
Although it is possible to perform a condenser test without removing it, you can get more accurate results by taking it out as there won’t be interference from other parts.
4. What Should I Do If My CondenseR Is Bad?
Switch your bad conductor with a new high-quality part from the same manufacturer. Continuously check and maintain this new one to avoid unexpected issues.
5. Why is a Multimeter Important in Testing?
For the reason that it accurately measures conductance and charge flow of the condenser; therefore helping with its diagnosis.


.jpg)
.jpg)


