How to Stop a Small Engine Oil Leak: Small Engine Guide
Oil leaks in small engines not only create a mess but can also lead to significant engine damage if left unattended. Addressing an oil leak promptly can save you time and money, preventing more serious engine issues. Learn how to diagnose and fix oil leaks in small engines.
What Does A Small Engine Oil Leak Look Like?
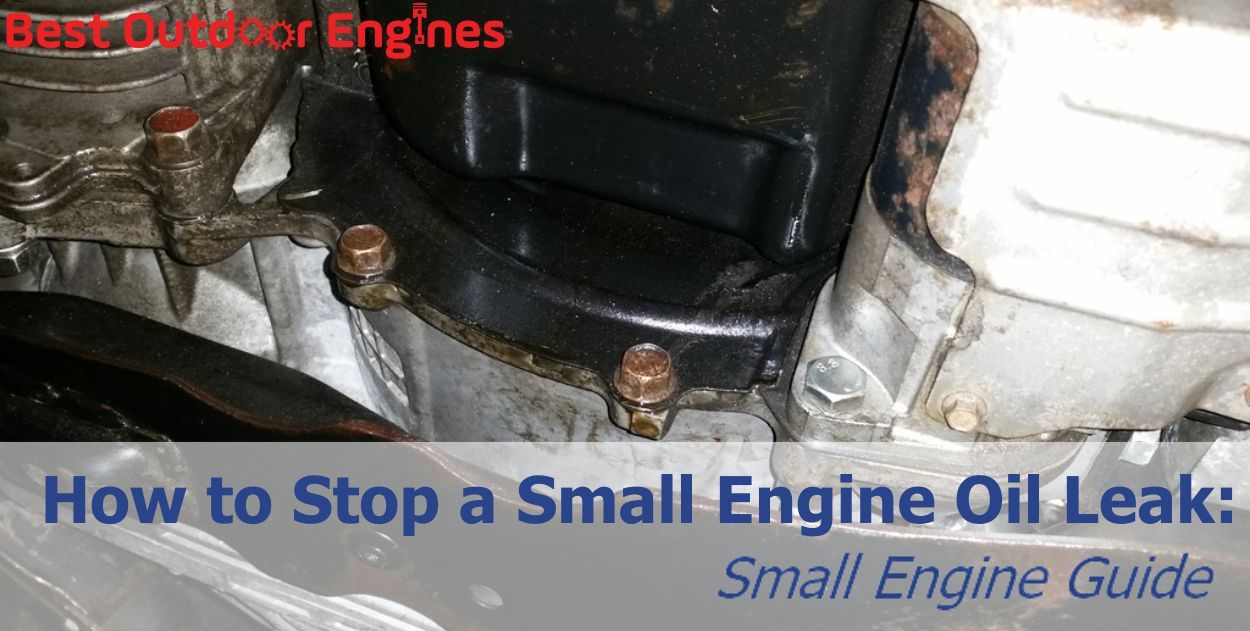
An oil leak in a small engine has many different signs. Small engine oil leaks can vary depending on how serious the leak is and where the leak comes from. One of the most famous signs for small engine oil leaks is that you can see a lot of oil stains or dippings. This is because your engine oil is getting out of the tank. The oil can be found on the ground or on the surface of your engine. If you don’t know what the stains and droppings look like, then they can be dark spots or streaks on the ground or in the engine.
Another sign of your small engine oil leaks is that you can see oil residue around the engine parts or right at the exterior surface of your small engine. These residues can be thick, and it seems gummy. The odor of these residues can be rather distinct as you can easily tell that it is oil from your small engine. In some cases, you can see a puddle of oil right beneath your engine. The oil leak can happen more often if your engine has been running for an extended period.
If the leak is not big enough, you may not see any early and visible signs. To prevent this, you should check your engine oil level. We suggest checking the oil level as the way your small engine oil is designed to work is not like how the normal fuel works. This means the oil is not decreasing as it is used overtime, but the quality of the oil is getting down. With that being said, you can check to see if your engine oil’s level is gradually reducing or getting much lower than the amount you pour into the engine. If you see the oil level is lower and then now is the time to check for possible oil leak.
There are several reasons why a small engine oil is leaking. One of the most common reasons is your engine having worn or damaged gaskets and seals. The gaskets and seals can be worn out and damaged due to heat, pressure, and exposure to the environment. When your engine is working, the dust and debris can hit and damage your engine part, leading to small gaps or cracks through which oil can seep. Moreover, during operation at high temperature, your engine parts, regardless of the design quality, cannot withstand high temperatures for a long period of time. This causes certain parts of the engine to get hotter and the metal may be worn out. These worn out will lead to tiny gaps inside your engine, from which the oil can leak.
In some cases, the leak may be the result of loose or improperly tightened components. These components might be the oil drain plug, oil filter housing, or other external fittings. If these components are not securely fastened, oil can slowly leak out from the gap. This will make a mess and potentially lead to more significant issues if you keep letting these gaps unaddressed.
Lastly, excessive wear on internal engine components, such as piston rings, cylinder walls, or bearings, can also contribute to oil leaks. As these parts wear down, they may no longer provide a tight seal. This, like other components if not tightened correctly, can allow oil to bypass the intended pathways and seep out of the engine.
Step 1: Identify the Source of The Leak

The first step is to locate where the oil is leaking from. We believe that oil leaks usually come from worn gaskets, damaged seals, or loose fittings. However, oil leaks can come from anywhere in your engine, so if you have time, check all other parts for the clearest identification.
You can start by checking around the oil fill cap, drain plug, and the areas where the engine meets the crankcase. If these parts are normal, you can check other parts like piston rings, cylinder walls, or bearings. If you find the source of the oil leak, you can come to the next step.
Step 2: Clean the area of leaking
 Once you've identified the source of the leak, it’s now time to clean the area thoroughly with a degreaser or engine cleaner. This cleaning helps you remove built-up oil and grime to have a better look at the engine parts that are leaking.
This step is crucial. If you left it Make sure you clean the oil thoroughly to prevent burning issues later on. Ensure that any new sealant or gasket adheres properly.
Step 3: Remove and Replace worn gaskets or seals

If the leak is coming from a worn gasket or seal, you'll need to replace it. Take a look into your manual or a repair guide to ensure you get the correct replacement part. When you replace the part, be sure to follow the manufacturer's instructions for proper installation. Misinstallation can lead to oil leak as well as other damage for your engine.
Step 4: Tighten loose fittings

If the leak is due to a loose fitting, such as the oil drain plug or the oil fill cap, simply tighten it using the appropriate tool. Be careful not to over-tighten, as this can damage the threads or cause other problems. This is a simple thing but don’t overlook it!
Step 5: Check for other potential issues
While addressing the immediate leak, it's also a good idea to inspect other components that could contribute to the problem, such as worn piston rings, damaged cylinder walls, or a failing oil pump. Maybe you can find out other problems and prevent them from affecting your engine?
Step 6: Test the Engine
Last but not least, we suggest you to try to start the engine. You should listen closely for any unusual noises. And check for any other leaks. If there’s still a leak that you can’t find out, we suggest consult professional help now
There are so many ways for you to prevent your small engine oil from leaking. You can start with proper installation. Always ensure that all components, such as the oil filter, drain plug, and gaskets, are properly installed. This means you get the right side component as well as get them tightened to where they needed. If you’re not sure which type you should use for your small engine, then look into the manual for some manufacturer's specifications.
Remember to tighten everything properly, but not to overdo it. Use the torque specifications in your engine's manual as a guide. Overtightening can damage gaskets and cause leaks just as under tightening can allow seepage.
When replacing components, opt for high-quality, manufacturer-approved parts. Inferior or counterfeit parts may not provide a proper seal, increasing the risk of leaks. Don't try to save a few bucks on replacement gaskets, seals or other parts. Cheap aftermarket parts often don't seal as well and can lead to new leaks down the road. Stick with OEM or manufacturer-recommended parts.
Don’t overfill your engine, as overfilling the engine with oil can create excessive pressure, potentially pushing oil past seals and gaskets, leading to leaks.
If you want to store the engine for an extended period, follow the manufacturer's recommendations for preparation and storage. They will help you prevent seal degradation and potential leaks when it's put back into service.
Stopping an oil leak in a small engine is a manageable task that can help you fix your equipment immediately and prevent further damage. The key advantage for you is to prevent small problems from becoming bigger, more expensive ones. With the right tools and a bit of know-how, you can save your small engine and make it run smoothly and leak-free.
1. How often should I change the oil in my small engine?
The frequency of oil changes in small engines depends on how often you use the equipment and the manufacturer’s recommendations. Generally, it’s a good idea to change the oil at least once per season or after every 25 to 50 hours of operation. Always refer to your owner's manual for specific guidance tailored to your model.
2. Can overfilling the engine with oil cause leaks?
Yes, overfilling your engine with oil can lead to leaks. When there's too much oil, it can increase the pressure inside the engine, forcing oil past seals and gaskets. Additionally, excess oil might get into areas where it shouldn't be, like the combustion chamber, which can cause other operational issues.
3. Is it safe to use aftermarket or generic replacement parts for my small engine?
Using aftermarket or generic parts can be safe and cost-effective, but it’s important to choose high-quality replacements. Some aftermarket parts are as reliable as OEM (Original Equipment Manufacturer) parts, but others might not meet the same standards and could affect your engine’s performance. If unsure, it's wise to consult with a professional or stick with recommended OEM parts.
4. What should I do if I notice an oil leak in my small engine?
If you notice an oil leak, it’s important to address it quickly to avoid engine damage. Start by identifying the source of the leak. Check common spots like gaskets, seals, and oil lines. If you’re not comfortable making repairs yourself, it's a good idea to take your engine to a professional mechanic.
5. Can extreme temperatures contribute to oil leaks in small engines?
Yes, extreme temperatures can contribute to oil leaks. High temperatures can cause engine oil to thin and seals to harden and crack, leading to leaks. Conversely, very low temperatures can make seals brittle and more prone to cracking. Regular maintenance and using oil suitable for your climate can help mitigate these issues.

