How to Remove a Flywheel from a Small Engine: Small Engine Guide
Removing a flywheel from a small engine can be challenging whether you are doing that maintenance, repairs, or troubleshooting. With the right method, however, this process can be really straightforward. Take some time and we will show you how to remove a flywheel with ease and precautions.
What is The Role of Flywheel in Your Small Engine?
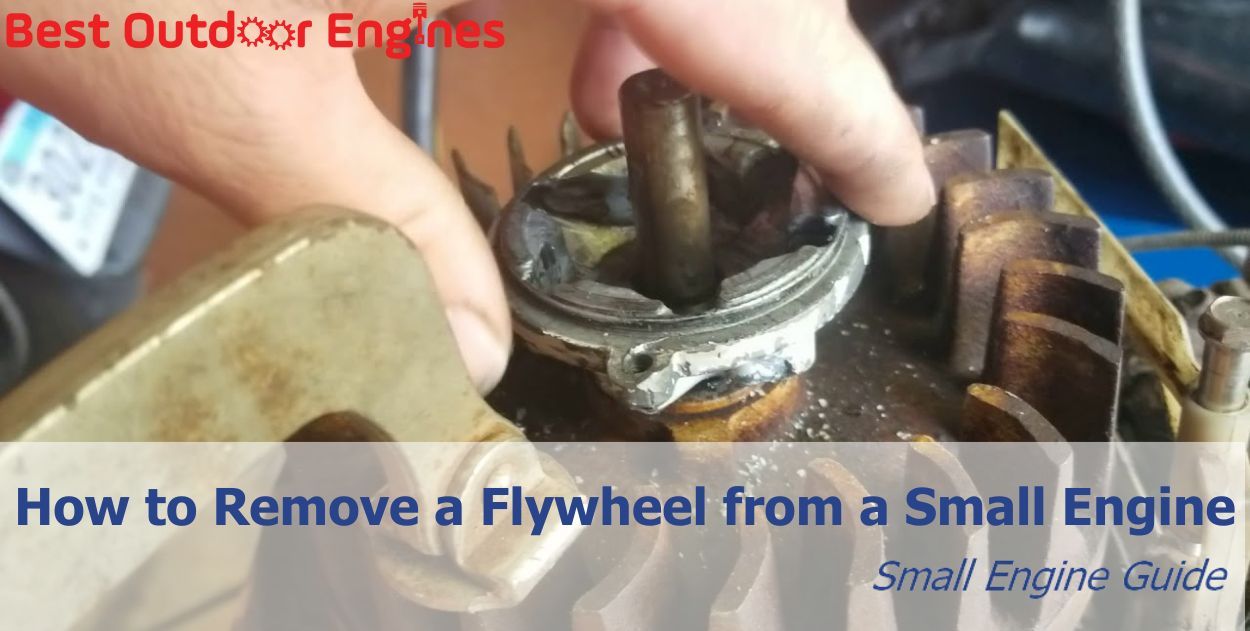
The flywheel in your small engine plays a multifaceted role in keeping your engine stable and running correctly. Essentially, your small engine flywheel acts as a block that stores rotational energy. It also smooths out energy pulses in your small engine's combustion cycle. Your small engine needs it to ensure stable operation.
In addition, the small engine flywheel also helps start your small engine. The outer edge of a small engine flywheel usually has gear teeth that mesh with the starter motor. This contact allows your small engine to start running.
In addition, in small engines with magnetic ignition systems, the flywheel will generate the necessary spark for the system. The magnets inside the small engine flywheel pass over the ignition coil as they rotate. This process generates an electric current that flows to the spark plugs.
In summary, the flywheel plays a very important role in balancing the operation of your engine. It also ensures that the power supply is smooth, supporting the engine starting. Your small engine flywheel also plays an important role in the ignition system. All of this helps to improve the performance and life of your small engine.
A flywheel puller is a great specialized tool to remove a flywheel from your small engine. The ideas behind this tool are that it helps you remove the flywheel from the crankshaft with even pressure without causing damage to the engine components. This is great as you have enough power and pressure for the removal, and there will be no excessive forces affecting your small engine. You can avoid potential damage for your small engine flywheel such as cracked flywheels or damaged crankshaft ends
A flywheel puller normally consists of a metal body with threaded holes. It also has bolts that align with corresponding holes in your small engine flywheel. When the bolts are tightened, the tool exerts a pulling force. This force will gradually separate the flywheel from its snug fit on the crankshaft.
In addition to the flywheel puller, it's also advisable to have a strap wrench or a suitable method to hold the flywheel stationary while applying force with the puller. This will ensure a safe and effective removal process.
Step 1: Preparing for Removal

First, make sure the engine is off. Disconnect the spark plug then cool the engine. Always do this to prevent accidents.
Next, remove any components obstructing access to the flywheel, which may include the engine cover, blower housing, or any other parts mounted on or around the flywheel.
Don’t go straight to removing yet, spend some time to clear any debris or dirt around the flywheel and crankshaft area. Always do this no matter how clean you think the engine is. After cleaning the flywheel and crankshaft, it’s time to start the removal.
Step 2: Loosen the Flywheel Nut

Use a socket wrench to loosen the nut securing the flywheel. At this stage, don’t rush to completely remove the nut. Leave it on the crankshaft's end so that you can protect the threads during the removal process.
Step 3: Approach the Flywheel

Position the flywheel puller over the flywheel. When doing this, make sure that its bolts are securely attached to the flywheel.
After that, tighten the central bolt of the flywheel puller. As you slowly grasp and apply pressure, the flywheel will begin to separate from the crankshaft. Proceed from this slowly to avoid damaging the flywheel or crankshaft.
Step 4: Remove the Flywheel:

Once the flywheel is loose, you can remove the flywheel nut completely. It’s time to lift the flywheel off the crankshaft. If it resists, gently tap the puller or the flywheel with a rubber mallet to free it.
We understand that your primary goal here is to learn about flywheel removal, and you might not be inclined to focus on what comes next. However, there's an essential step we believe you should consider post-removal. Once the flywheel is off, inspect it thoroughly. Check for any signs of wear, damage, or cracking, which could impact the engine's performance.
Other than that, you should pay close attention to the keyway. A damaged keyway can lead to improper flywheel alignment and potential engine failure. Also, if your flywheel is equipped with magnets (integral to the engine's ignition system), ensure they are intact and securely attached.
Taking the time to inspect these components can save you from potential headaches down the line, ensuring your engine runs smoothly and reliably.
Removing a flywheel from a small engine is a task that, while intricate, can be accomplished with patience and the right tools. Following these steps will help you remove the flywheel safely, allowing you to perform necessary maintenance or repairs. Always remember to work slowly and carefully to prevent damage to your engine components.
1. Can I remove a flywheel without a flywheel puller?
While it's possible to use alternative methods, a flywheel puller is highly recommended to avoid damaging the flywheel or crankshaft.
2. What should I do if the flywheel won't budge?
If the flywheel resists, double-check that all necessary components are removed and that the puller is correctly installed. Never force it; apply gradual pressure or consult a professional.
3. How do I know if my flywheel needs replacing?
Signs that a flywheel may need replacing include visible cracks, damaged teeth (if applicable), or issues with engine timing and performance.
4. Should I replace the flywheel key if I remove the flywheel?
It's a good practice to inspect the flywheel key for any signs of wear or damage. Replace if necessary to ensure proper engine timing.
5. Is there any maintenance required after reassembling?
After reassembly, ensure all components are securely fastened, and consider performing a maintenance check on the engine, including spark plug inspection and oil level check.


.jpg)
